Canvas Commons
How to share your course materials in Canvas Commons
Canvas Commons is a learning object repository that enables educators to find, import, and share resources. A digital library full of educational content, the Commons allow Canvas users to share learning resources with other users as well as import learning resources into a Canvas course.
If you have an online or hybrid course in Canvas, and would like to share the entire course or individual course items, Canvas Commons is a great place to store/host them. Here are some of the benefits:
- Sharing on your terms: You determine how and to what extent other users can reuse your original course content.
- Safe: Your course content is safe in your own course shell. By hosting it in the Commons, you are simply allowing users to import your shared content into their courses.
- Handy backup: When sharing a course into the Commons, a copy is created and stored in the Commons. It can work like a personal learning object repository.
- Quick and Easy: Sharing to the Commons, for a typical Canvas course, takes less than a minute.
How To Share:
- Log into your Canvas account and check to see if you have a Commons tab in your top menu. If you are an instructor and your college has enabled Canvas Commons this will be visible. (Currently 27 colleges out of Washington’s 34 colleges have enabled Canvas Commons. If you do not see the Commons tab please check with your eLearning department). In the original Canvas interface:
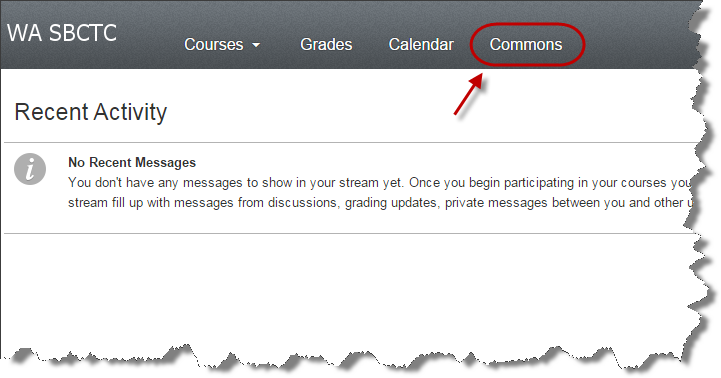 In the new Canvas interface:
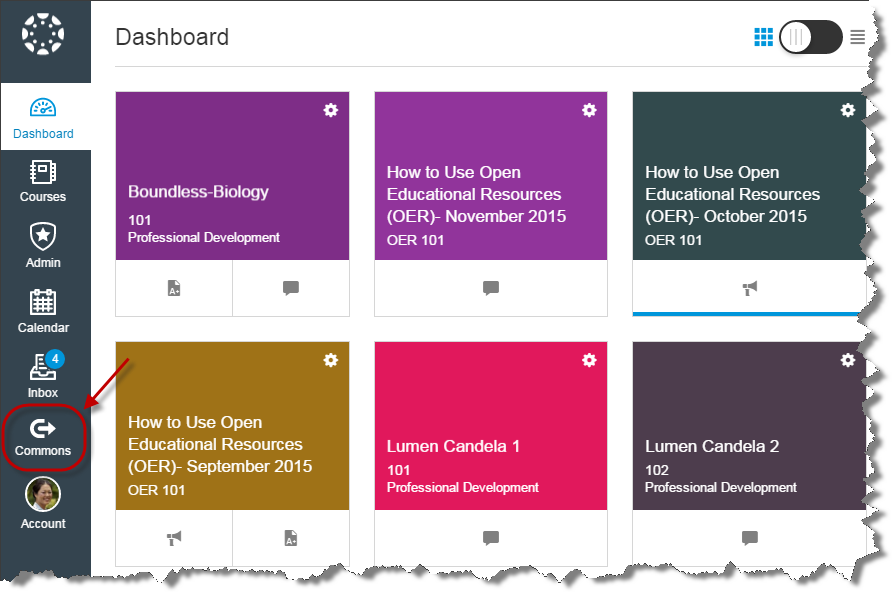
- Go to the course shell that contains the content you would like to share. To share an entire course, click Settings and choose the “Share to Commons” button.
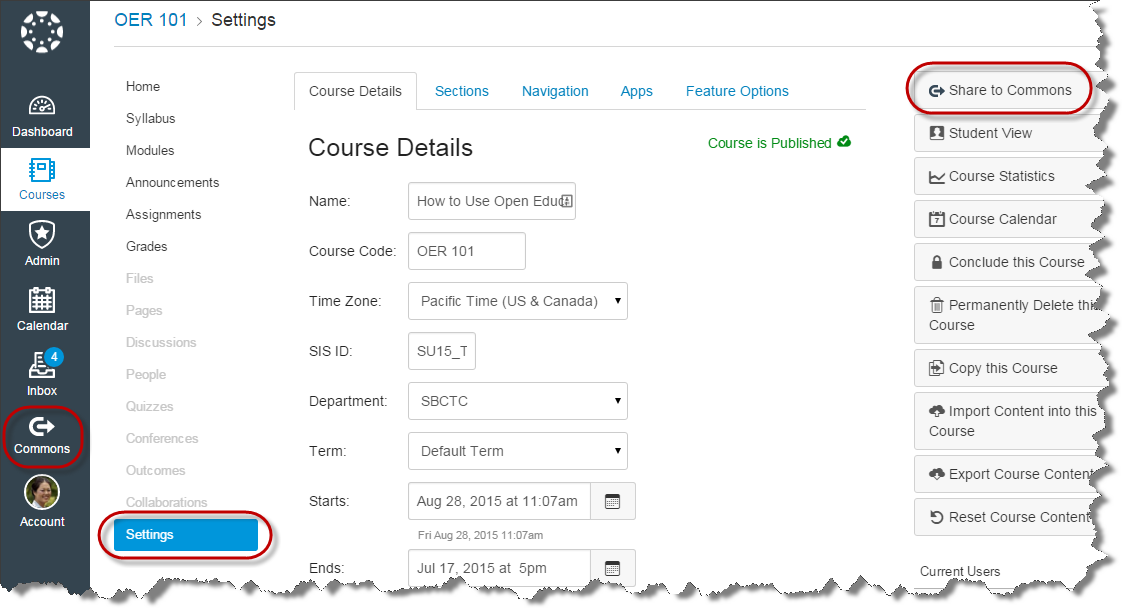
- To share a single item, click the settings icon next to the item you plan to share and choose Share to Commons.
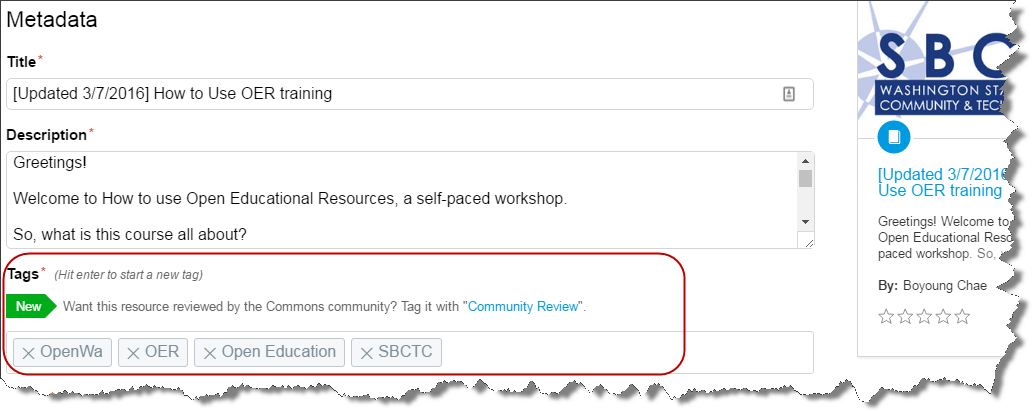
- You will be taken to a page where you can add a basic description of your item. A couple of things to think about:
- Be sure to add proper identifiers in the Tags. For example, if your course was developed for Spokane college’s Mathematics department, add “Spokane Mathematics” in the Tags. That way, when users type “Spokane Mathematics” in the search window all courses with that tag will appear.
- We recommend that you add OpenWa in the Tags, as a global identifier. By doing so all materials produced in the Open Washington network can be searchable in Canvas. This is optional but it helps users narrow down their search results, especially if they are looking for locally developed resources.
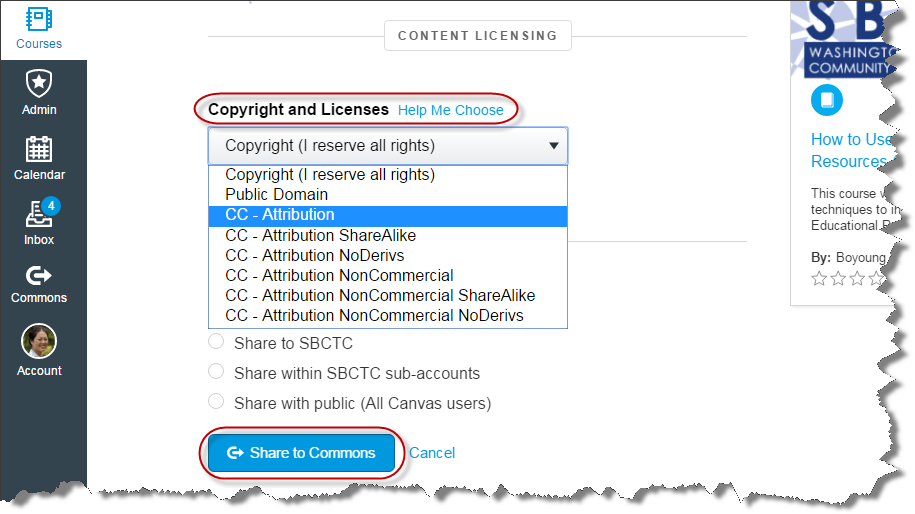
- After setting up the basic information scroll down to find content licensing and sharing options. Under copyright and licenses you will see eight different options. If you wish to share out your materials we recommend you choose any one of the six Creative Commons licenses or the public domain option. To learn the difference between these licenses go to Find OER and see Modules 4 &6.
- For sharing options, we recommend that you select the “Share with public” option. This allows anyone with a Canvas account the ability to import your course and use it based on the terms you set.


Note:
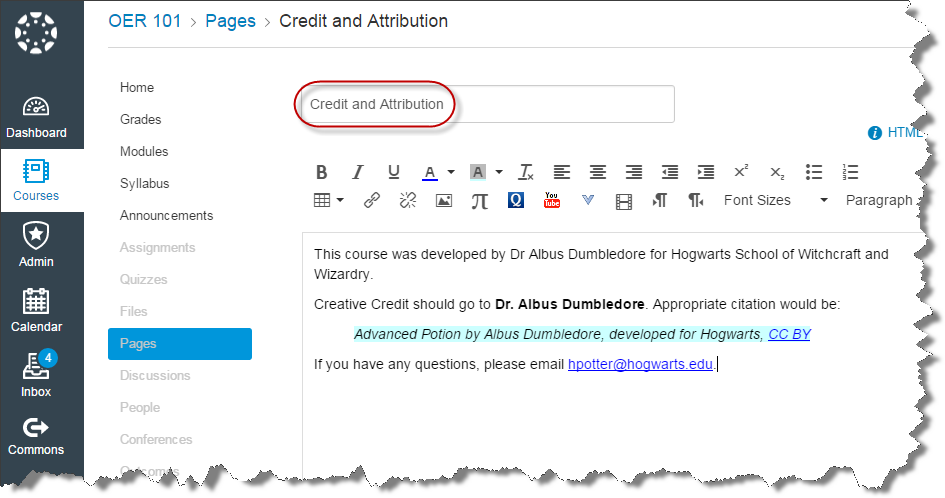
- When sharing an entire course, we recommend that you add a Credit and Attribution page to your module and make it visible. This reminds users of the terms of use and licensing conditions of your work. For example, on the Credit and Attribution page, you could simply note:
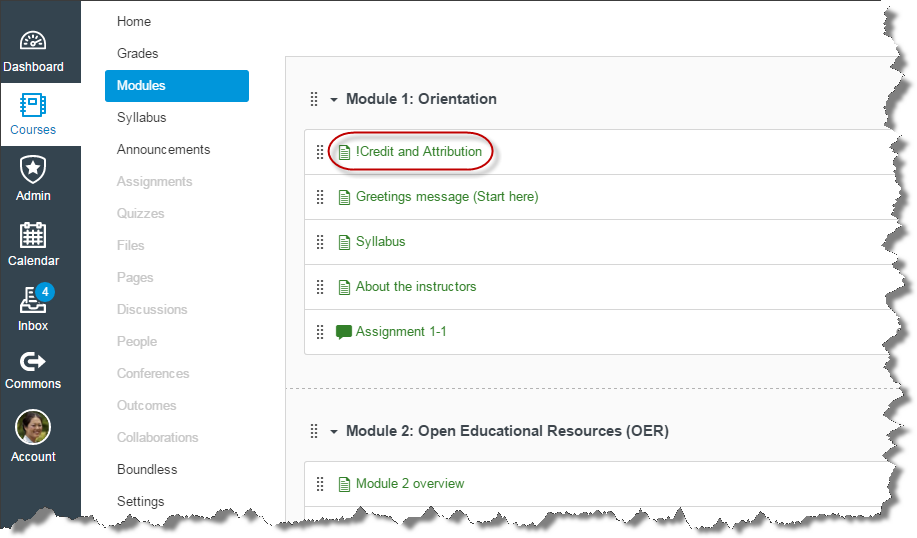
- It would then appear like this in your Canvas shell:


Last updated: 08 08 2017